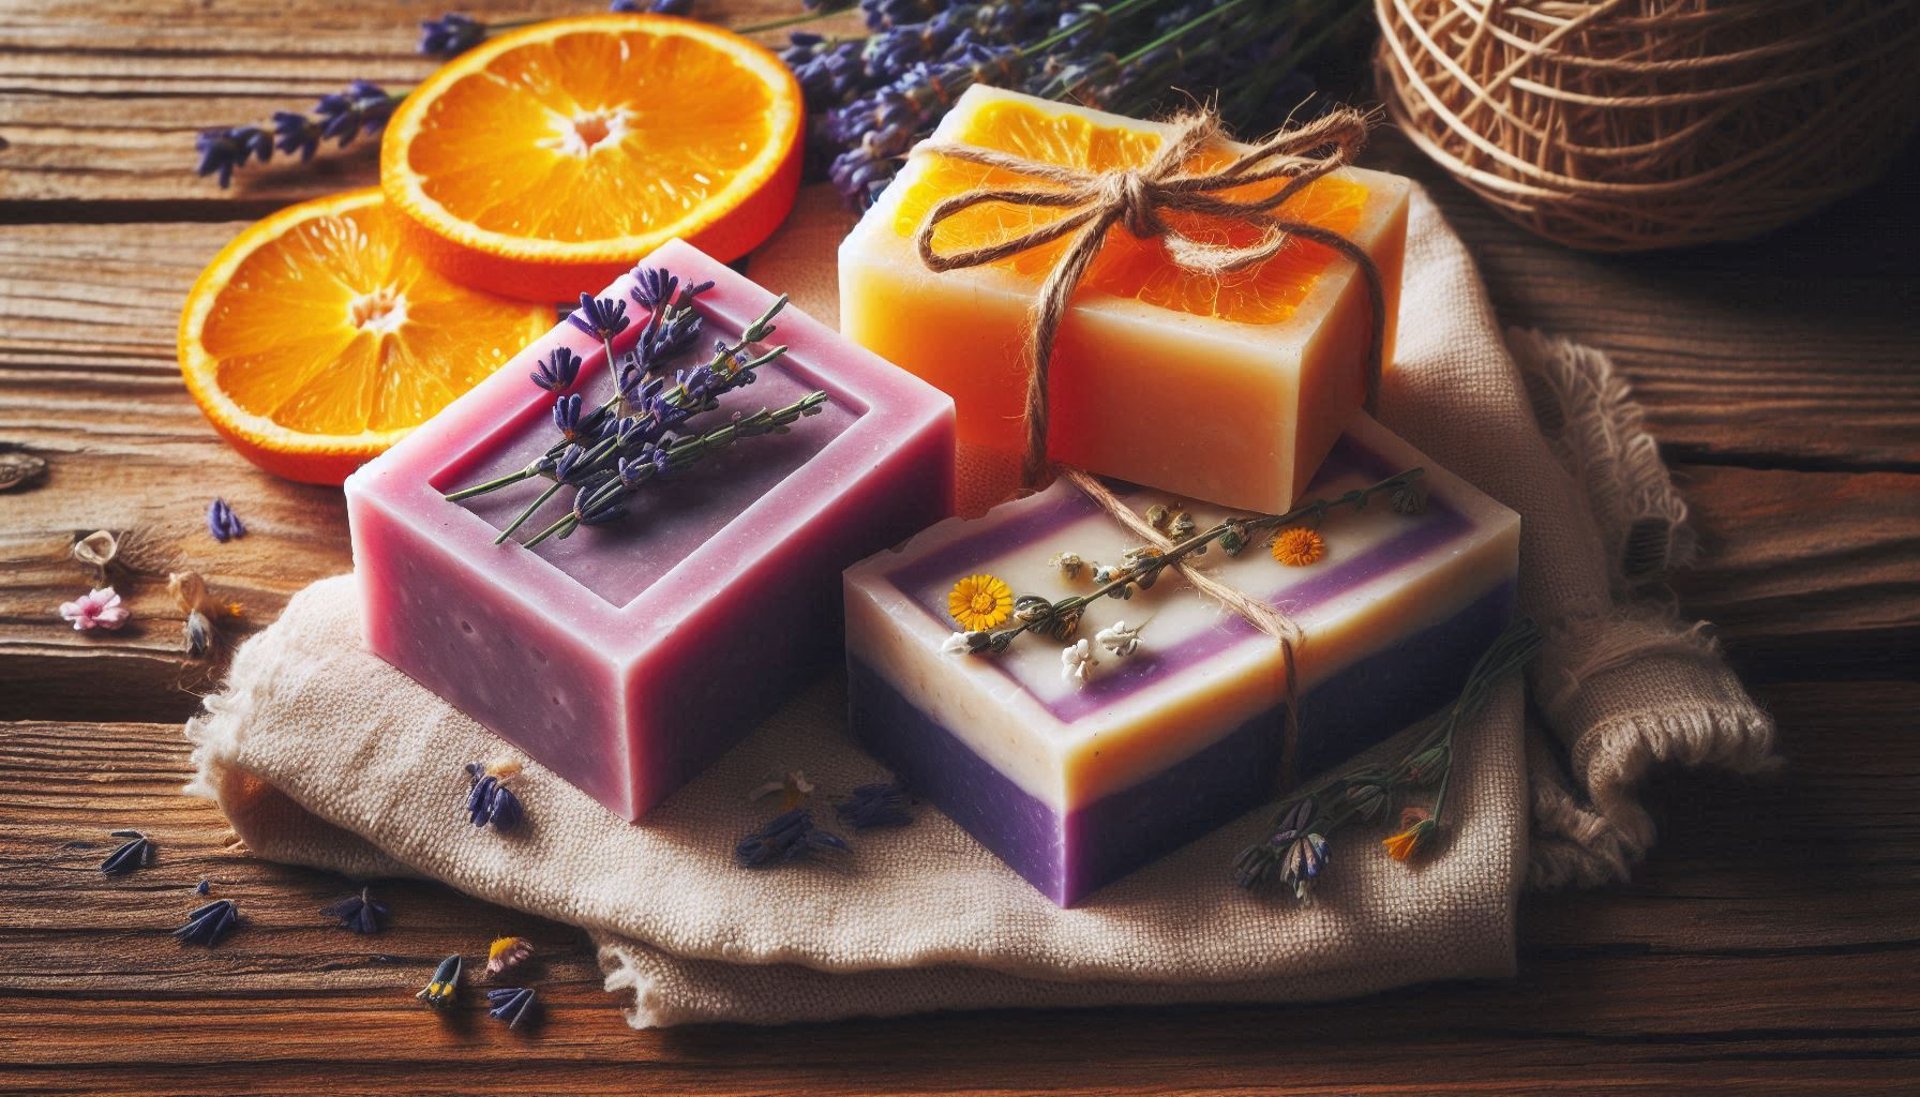
3 Amazing Soap Recipes You Can Make at Home
Discover the magic of cold process soap making! Create luxurious, handmade bars at home. Learn the basics, master safety, and unleash your creativity. With 3 easy to follow soap recipes.
SKINCARE
Kathrine-Anne Hill
6/28/20259 min read

Introduction to Homemade Soap Making
Homemade soap making is an artisanal process that allows individuals to create personal, customized bathing products using natural ingredients. The craft of soap making has gained immense popularity in recent years due to a growing awareness of the benefits associated with using handmade products. Not only does it provide a creative outlet, but it also allows consumers to have complete control over the ingredients they use, ensuring they are devoid of harmful chemicals found in many commercially produced soaps.
The joy of crafting your own soap lies in the ability to personalize it with a variety of natural additives. By incorporating botanicals, essential oils, and other natural constituents, soap makers can create products that cater to specific skin types and preferences. For example, adding lavender essential oil not only imparts a soothing fragrance but also offers calming properties that can enhance the bathing experience. Similarly, botanicals such as oatmeal or dried herbs can contribute beneficial qualities, making the soap more than just a cleansing agent.
Another significant advantage of homemade soap is its sustainability. By opting for eco-friendly ingredients and reducing the reliance on plastic packaging, soap makers actively participate in protecting the environment. This is especially vital when considering the impact of mass-produced consumer goods on our planet. With homemade soap, each bar is unique, reflecting the maker's values and aesthetics while promoting a more mindful approach to personal care.
In this blog post, you will discover three amazing soap recipes that you can try at home. Each recipe emphasizes natural ingredients, spotlighting how fulfilling and rewarding it can be to craft your own soap. Prepare to explore the delightful world of homemade soap making, where creativity meets practicality, resulting in delightful products right from your own kitchen.
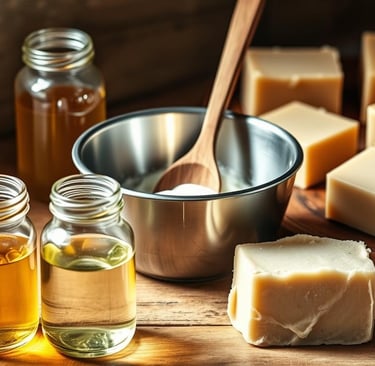
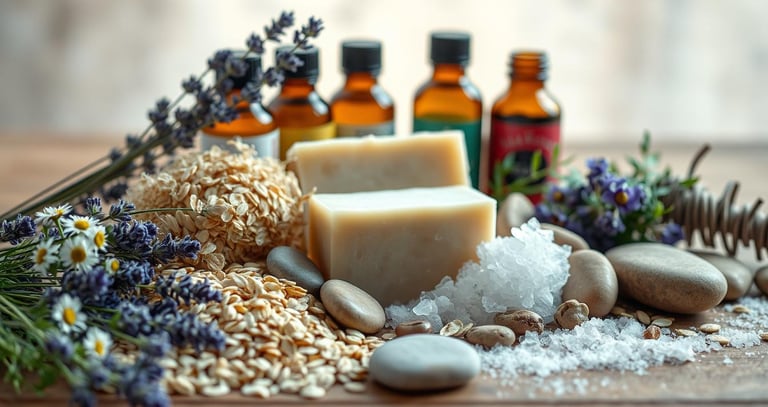
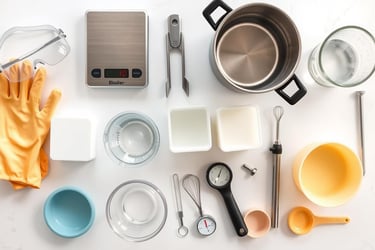
Essential Tools and Ingredients for Soap Making
Embarking on the journey of soap making requires a fundamental understanding of the essential tools and ingredients necessary for the process. At its core, soap making involves a chemical reaction known as saponification, which occurs when oils or fats are mixed with lye (sodium hydroxide) and water. To begin, one must gather reliable tools that will facilitate this process effectively.
First and foremost, safety equipment is paramount; a pair of protective goggles and gloves should be secured to ensure safety during the handling of lye. The core ingredients include various oils, each contributing unique properties to the soap. Common choices consist of olive oil, coconut oil, and palm oil. Olive oil offers moisturizing benefits, while coconut oil is prized for its bubbly lather. Palm oil provides stability and hardness to the final soap product.
Water, typically distilled, plays a crucial role in dissolving the lye, which is necessary for the saponification process. It is advisable to use a digital scale for precise measurements, as the success of soap making largely hinges on accurate ratios of lye to oils. A heat-resistant mixing bowl, preferably stainless steel or glass, is also essential for combining these elements safely.
When it comes to molds, the options are vast. Silicone molds are popular due to their non-stick nature, making the unmolding process simpler. Alternatively, wooden or plastic molds can also be utilized, though these may require additional lining with parchment paper for easier removal. Lastly, a stick blender is invaluable for achieving a smooth, consistent mixture, allowing for the proper emulsification of the oils and lye.
For those interested in adding an aromatic finish, sourcing high-quality essential oils or botanicals is key. These materials can typically be found at local craft stores or online suppliers specializing in soap making ingredients. Ensuring the quality of these additions not only enhances the overall experience of creating soap but also influences the therapeutic benefits the finished product offers.
Mixing the Lye Solution Safely
Always add lye to water, never reverse. Think of it like snow settling on a lake—gradual addition prevents violent reactions. Stir until clear, then cool to 100°F (38°C).
Pro tip: Mix near an open window. The fumes dissipate quickly but can irritate lungs.
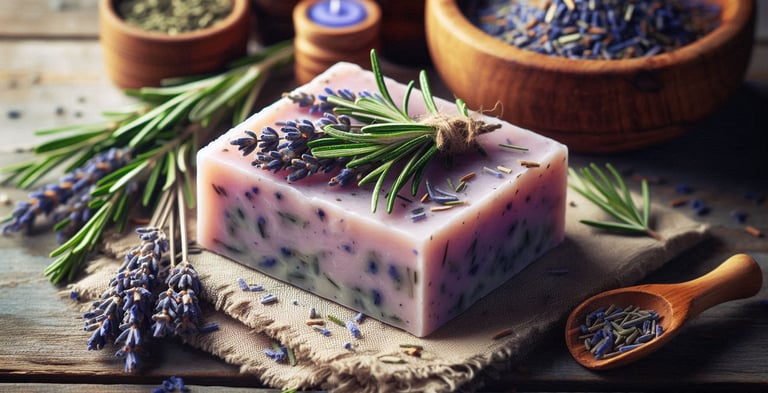
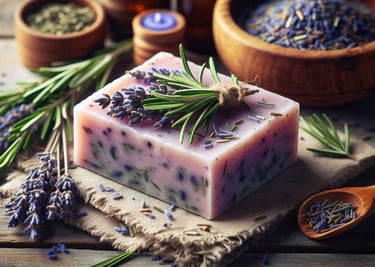
1. Lavender & Rosemary Botanical Soap Recipe
Harness the calming aroma of lavender and the invigorating scent of rosemary in this botanical soap that's both soothing and refreshing. This cold process soap recipe is beginner-friendly and can be customized with added botanicals for a personal touch.
Ingredients
16 oz olive oil
8 oz coconut oil
8 oz palm oil
4 oz lye (sodium hydroxide)
12 oz distilled water
1 oz lavender essential oil
0.5 oz rosemary essential oil
Optional: dried lavender buds or rosemary sprigs
Equipment
Heat-safe container
Digital scale
Stick blender
Soap molds
Thermometer
Protective gear (gloves, goggles, etc.)
Instructions
Prepare the Lye Solution
In a well-ventilated area, slowly add the lye to the distilled water (never the reverse). Stir gently until fully dissolved. Set aside to cool.Melt and Combine Oils
Gently melt the coconut and palm oils, then mix them with the olive oil in a large bowl.Check Temperatures
When both the oils and lye solution reach 95°F–105°F, slowly pour the lye solution into the oils.Blend to Trace
Use a stick blender to mix until the soap reaches trace—a pudding-like consistency where a drizzle leaves a visible trail on the surface.Add Essential Oils
Stir in the lavender and rosemary essential oils thoroughly. Add any optional botanicals at this stage.Mold the Soap
Pour the mixture into your molds. Tap molds lightly to remove air bubbles.Set and Cure
Allow the soap to harden for 24–48 hours, then unmold and cut into bars.
Cure for 4–6 weeks in a dry, ventilated area before using.
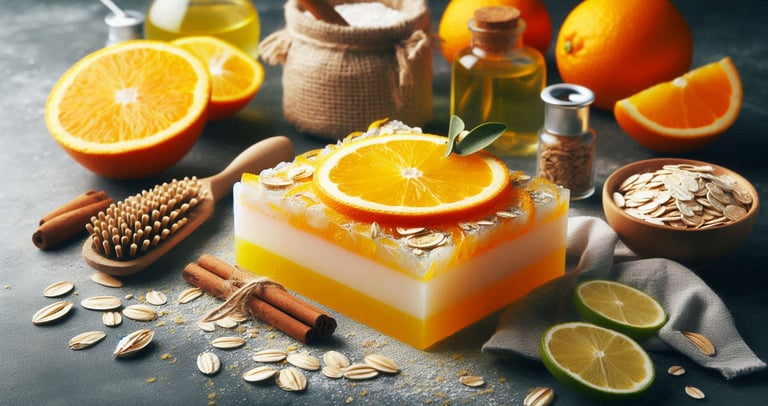
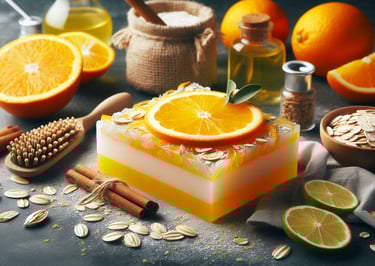
2.Citrus Burst Soap with Zest and Oats
This refreshing soap blends bright citrus essential oils with the gentle exfoliation of oats. It’s a quick and fun melt-and-pour recipe that’s perfect for beginners and makes a great gift or everyday bar.
Ingredients
500g melt-and-pour soap base (glycerin or shea butter)
30ml citrus essential oils (lemon, orange, grapefruit, or a blend)
100g finely ground oats
Natural colorants (optional — e.g., turmeric for yellow, spirulina for green)
Equipment
Microwave-safe bowl or double boiler
Silicone soap molds
Spoon or spatula for stirring
Knife for chopping soap base
Instructions
Chop and Melt Soap Base
Cut the melt-and-pour soap base into small cubes. Place in a microwave-safe bowl and heat in 30-second intervals, stirring between each until fully melted.Cool Slightly
Let the melted soap cool for a minute or two to avoid burning off the essential oils.Add Essential Oils
Stir in the citrus essential oils to infuse your soap with a bright, invigorating scent.Mix in Oats
Add the finely ground oats, stirring thoroughly to distribute evenly throughout the mixture.Add Natural Colorants (Optional)
If using, mix in a small amount of natural colorant to achieve your desired hue. Stir well.Pour into Molds
Carefully pour the mixture into silicone soap molds. Tap the molds gently to release any air bubbles.Let Set
Allow the soap to cool and harden for several hours or overnight at room temperature.Unmold and Store
Once firm, remove the soap from the molds and store in a cool, dry place.
This zesty, skin-softening bar is perfect for morning showers or as a cheerful homemade gift.
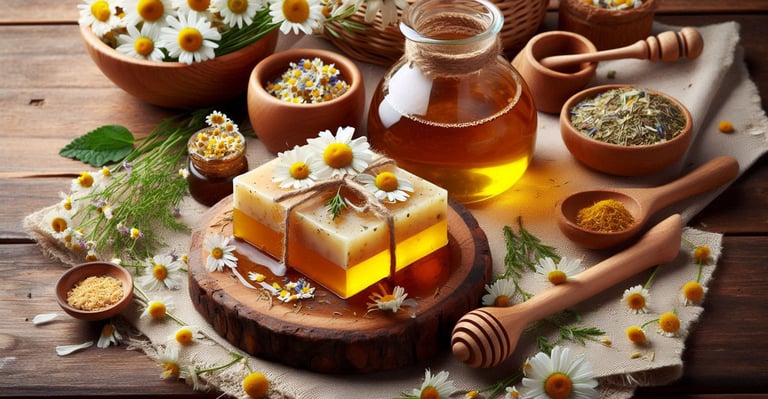
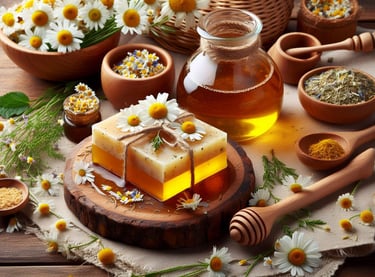
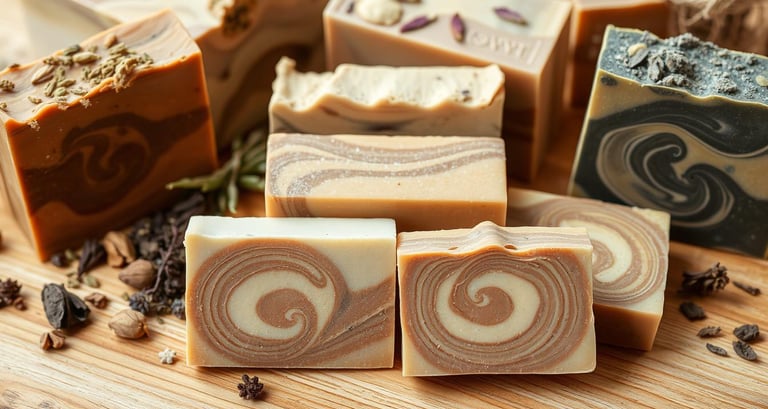
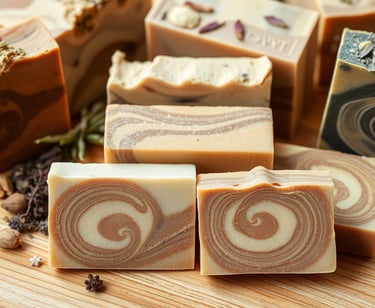
3.Herbal Infusion Soap with Chamomile & Calendula
This calming herbal soap is crafted with soothing chamomile and calendula—perfect for sensitive or irritated skin. Infusing the oils with dried herbs enhances the skin-loving properties of this nourishing bar.
Ingredients
1 cup olive oil
1 cup coconut oil
Dried chamomile flowers (about 2 tbsp)
Dried calendula petals (about 2 tbsp)
4 oz lye (sodium hydroxide)
10 oz distilled water
Optional: essential oils (e.g., lavender for added calming scent)
Equipment
Saucepan
Heat-safe container
Digital scale
Stick blender
Soap mold
Thermometer
Safety gear (gloves, goggles)
Towel for insulation
Instructions
Infuse the Oils
In a saucepan, combine olive oil with the dried chamomile and calendula.
Simmer over low heat for at least 1 hour, then strain out the herbs.
Add coconut oil to the infused olive oil and allow the mixture to cool.
Prepare the Lye Solution
In a well-ventilated area, slowly add lye to distilled water (never the other way around).
Stir until fully dissolved and let cool to around 100°F.
Combine Oils and Lye
When both the oils and lye solution are 95–105°F, slowly combine them.
Use a stick blender to mix until light trace is reached (pudding-like consistency).
Add Essential Oils (Optional)
Stir in any essential oils you prefer for added scent and therapeutic benefits.
Mold the Soap
Pour the soap batter into your soap mold.
Cover with a towel to insulate and allow it to set for 24–48 hours.
Unmold and Cure
Once firm, unmold and cut into bars.
Cure in a cool, dry space for at least 4 weeks before use.
This herbal soap is ideal for anyone looking to soothe their skin naturally.
Tips for Enhancing Your Soap with Essential Oils and Botanicals
Incorporating essential oils and botanicals into your homemade soap can elevate its fragrance, appearance, and therapeutic properties. Selecting the right blend is crucial for achieving the desired effects on both mind and body. Begin by considering the intended purpose of your soap; for example, lavender essential oil is renowned for its calming properties, making it an excellent choice for relaxation. Similarly, citrus oils like lemon or orange are invigorating and can provide an uplifting scent perfect for morning routines.
When working with essential oils, it's vital to adhere to safe usage rates. Generally, a good rule of thumb is to use about 0.5% to 5% of the total weight of your soap ingredients, depending on the strength of the oil and your personal preference. Ensure to educate yourself regarding the specific essential oil you choose, as some may have restrictions or recommended limits. For instance, certain oils can be irritating in larger quantities, particularly citrus oils which may cause photosensitivity when applied to the skin prior to sun exposure.
In addition to essential oils, incorporating dried botanicals can add both visual appeal and unique fragrances to your soap. Consider herbs like rosemary or mint, which may lend a refreshing quality. When infusing botanicals, it is advisable to steep them in a carrier oil before mixing them into your soap base. This method not only extracts the beneficial properties but also allows for better dispersal in the final product.
Finally, proper storage of your essential oils and botanical ingredients is essential to preserve their potency. Store them in dark glass containers away from light and heat to enhance their longevity. By following these guidelines, you can effectively enhance your homemade soap with natural ingredients, ensuring a delightful product that speaks to your personal preferences and skincare needs.
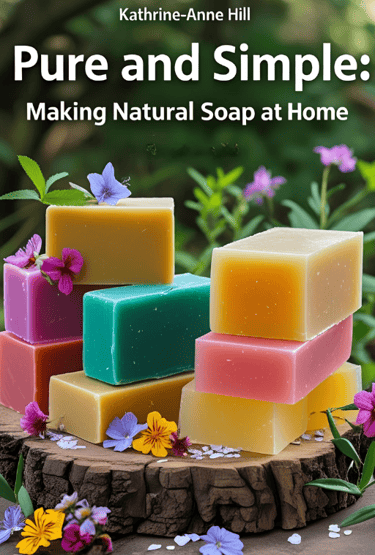
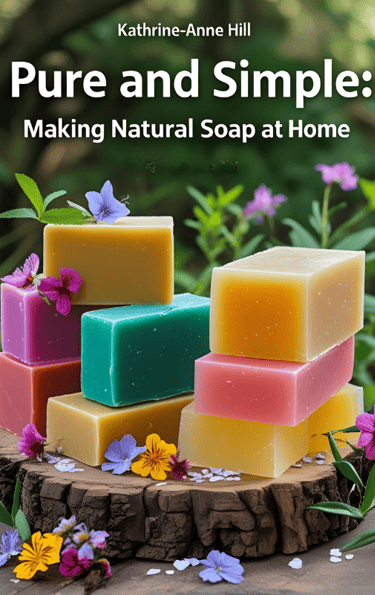
Ready to Master Natural Soapmaking?
Take your soap making skills to the next level with our comprehensive guide, "Pure and Simple: Making Natural Soap at Home". This book walks you through every step of the natural soap making process with detailed instructions, troubleshooting tips, and 12 tested recipes for beginners to advanced crafters.
Learn how to safely work with lye, select the perfect oils for your skin type, and create stunning designs using natural colorants. The book includes special sections on incorporating herbs, clays, and essential oils for therapeutic benefits.
Conclusion and Next Steps in Your Soap Making Journey
Embarking on the soap-making journey offers numerous benefits, from creative expression to promoting personal wellness. Crafting your own soap allows you to customize scents, textures, and colors, ensuring every bar meets your unique preferences and skin care needs. Not only does this provide a sense of accomplishment, but it also allows you to avoid commercial soaps filled with harsh chemicals, opting instead for natural ingredients tailored to your skin type.
As you conclude your initial explorations with the three amazing soap recipes presented, consider the vast potential that lies beyond. Experimenting with different oils, botanicals, and essential oils can yield unique results that reflect your personality and desired outcomes. The world of soap making is rich with possibilities, encouraging you to develop your skills and adapt your recipes as you see fit. Each batch provides an opportunity to learn and innovate, whether it's through adjusting your ratios, incorporating new ingredients, or trying out diverse techniques.
Additionally, there are many resources available for those eager to deepen their soap-making knowledge. Consider joining online forums or local workshops where you can connect with fellow enthusiasts. These communities can be invaluable for sharing tips, troubleshooting challenges, and discovering new soap recipes. Books, online tutorials, and instructional videos can also serve as excellent guides as you refine your craft. Don’t hesitate to engage with these resources and share your soap-making experiences—your journey may inspire others to embark on their own.
In conclusion, soap making is not just a hobby but a fulfilling endeavor that can lead to personal well-being and creativity. Dive into the world of soap making with enthusiasm, experiment with what you learn, and connect with others in the community. Your exploration has only just begun, and your next unique bar of soap is waiting to be created.

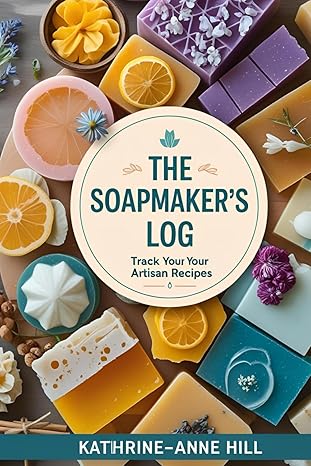
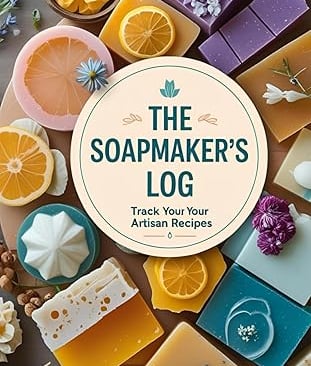
🧼 Keep your recipes consistent, your batches organized, and your creativity thriving—get The Soapmaker’s Log now!
